Creating A New Android Qt Project
← Getting Started with Android Qt | ● | Running an Android Qt App →
Now, we are going to create a new project with QtCreator to display the battery status as a starting point and change that later on to spot our GPS location.
In the QtCreator we select File → New File or Project → Applications → Mobile Qt Application → Choose.
Then we provide a name for the mobile application. For our example app that will show the actual GPS postion we choose “GPS-Spot”.
Next we confirm to use the default build kit for the armv5 instruction set. Done.
We have created a project template that contains the following files:
- GPS-Spot.desktop
- GPS-Spot.pro
- GPS-Spot64.png
- GPS-Spot80.png
- GPS-Spot_harmattan.desktop
- deployment.pri
- main.cpp
- mainwindow.cpp
- mainwindow.h
- mainwindow.ui
The files come with the necessary boiler plate code that we have to modify, as described in the following sections.
Declaring the Qt Mobility API
To use the Qt Mobility APIs we have to modify the .pro file to declare the Qt Mobility APIs that you use. Double click at the .pro file in the tree view of the edit pane of QtCreator to open an editor window.
This example uses the Mobility System Info API, so we must declare it, as illustrated by the following code snippet:
 CONFIG += mobility
 MOBILITY = systeminfo
Completing the MainWindow Header File
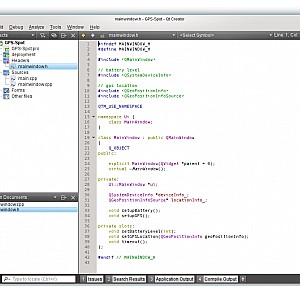
In the Projects view click on the Edit icon on the left and double-click the mainwindow.h file to open it for editing.
We include the System Device Info header file, as illustrated by the following code snippet:
Right after the header files (not before!) we declare to use the Qt mobility name space, as illustrated by the following code snippet:
Also declare a private member variable as a pointer to a device info object to be created later on:
QSystemDeviceInfo *deviceInfo_;
Designing the User Interface
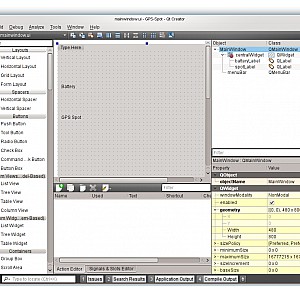
Double-click the mainwindow.ui file in the Projects editor view to launch the integrated Qt Designer.
Drag and drop a text label (QLabel) widget to the canvas.
In the Properties pane in the upper left, change the objectName of the QLabel object from “label” to “batteryLabel”.
The necessary code to setup all designed UI elements of a widget is integrated into an auto-generated “ui” object. This object is is created in the constructor of the respective class. For example, the constructor of the MainWindow class creates a ui object of the type UI:MainWindow. When calling its setupUI method, the GUI elements are constructed according to the description of the mainwindow.ui file:
: QMainWindow(parent), ui(new Ui::MainWindow)
{
ui->setupUi(this);
}
All designed gui elements become a member variable of the ui object, referenced to by ui→objectName. For example, to set a text on a label object with the name objectName we call:
Completing the MainWindow Source File
In the Projects view, double-click the mainwindow.cpp file to open it for editing.
Add the following code to the MainWindow constructor to read the battery level from the device info API and pass changing levels on to the battery label:
ui->batteryLabel->setNum(deviceInfo_->batteryLevel());
connect(deviceInfo_, SIGNAL(batteryLevelChanged(int)),
ui->batteryLabel, SLOT(setNum(double)));
And finally, we delete the device info in the MainWindow destructor:
{
delete deviceInfo_;
delete ui;
}
← Getting Started with Android Qt | ● | Running an Android Qt App →

