Running An Android Qt App
← Creating a new Android Qt Project | ● | Android Qt GPS Example →
Now that you have all the necessary code, click on the “Hammer” symbol on the left to compile the project and check for errors and warnings.
To test it, we need to create a simulation device for the emulator.
In QtCreator we select Tools → Options and switch to the Android tab. Now we click at the “Start AVD Manager” button and create a new SD Card with 1024 MiB space for an Android Virtual Device with API Level 10 (Android 2.3.3). We also select WVGA 480×800 screen resolution matching the resolution of our Samsung Galaxy Ace 2 smartphone.
The best way is to clone the settings of the Google Nexus S Device shown in the device tab, which has the same screen resolution as the Galaxy Ace 2.
So we create an Android Virtual Device (AVD) from the Google Nexus S device and name it “Ace2”.
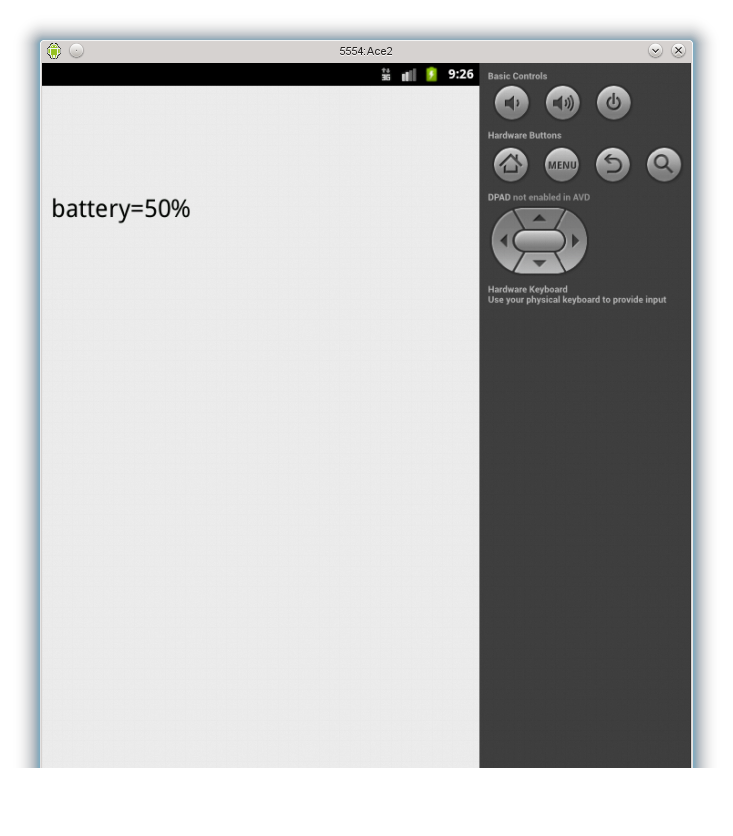
Click on the Ace2 AVD and start the emulator. Keep the emulator window open.
We download the “Ministro II.apk” from here and run the following cmd line to install the Ministro package on the AVD:
adb install <full path file name of the ministro apk>
The command “adb” stands for Android Debug Bridge. It is located in the “android-sdk/platform-tools” directory of the SDK.
Back in Qt Creator we need to adjust a final setting before we can start the app in the simulator: click at the Project icon on the left side and switch to the tab of the project. Under “Build&Run” we click at the “Run” tab of the “Necessitas SDK for Android” kit and change the deploy settings to “Deploy local Qt libraries”.

Now click at the green play button to run the app in the Qt Simulator.
Let’s tweak the app a bit: we connect the battery level changed signal to a private slot setBatteryLevel(int) and create a more verbose output:
{
QString text=QString("battery=%1%").arg(level);
ui->batteryLabel->setText(text);
}
← Creating a new Android Qt Project | ● | Android Qt GPS Example →